# Where to Start
Building Your Own Music Streaming Setup
So you want to build your own music streaming service? I get it - after years of being frustrated with Spotify and friends, you’re ready to take control. The good news is, it’s not as complicated as you might think.
 There are really three main things you need to figure out, and once you’ve got these sorted, you’re well on your way:
Server Hardware
Let’s start with the foundation - you need something to run your music server on. Here’s the thing: you don’t need some massive, expensive setup. You’ve got two really solid options to get started:
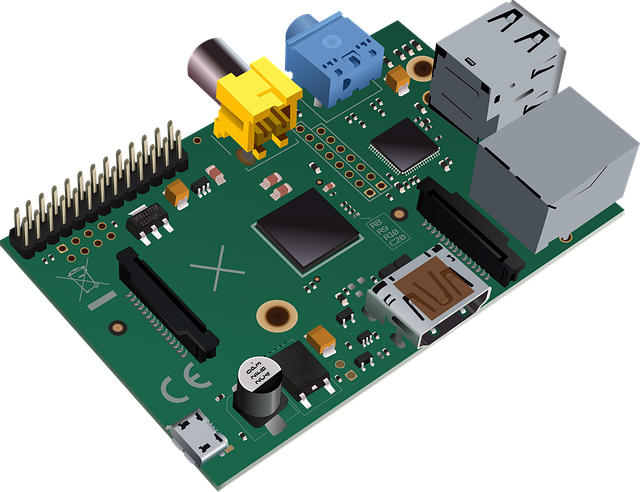
Raspberry Pi 4 is a great entry point - this little $50 computer can handle streaming music to multiple devices without breaking a sweat. It’s tiny, uses almost no power, and there’s a huge community around it. Perfect if you want something compact and purpose-built.
But personally? I prefer starting with an old laptop. You can grab a decent used business laptop for around 50€, and it gives you some real advantages: built-in screen and keyboard for troubleshooting, proper SATA storage instead of SD cards, and usually more RAM and processing power than a Pi.
For this tutorial series, I’m using an old MacBook Air with an i7 - got it for free, and it’s more than powerful enough for streaming music. The built-in display is incredibly handy when things go sideways, and you can always expand storage later without dealing with USB adapters.
Server Software
Now you need software that actually serves up your music. After trying a bunch of different options, Navidrome is my choice, hands down. It’s lightweight, open-source, and runs perfectly on Linux. The best part? It’s completely free software - no licensing fees, no vendor lock-in, just pure open-source goodness.
Navidrome has a clean web interface, works great on mobile, and supports all the streaming protocols you’d want. Since we’re running everything on Linux (which is what your Raspberry Pi uses), everything just works together seamlessly.
The best part? It’s dead simple to set up, even on that little Raspberry Pi. No complicated proprietary databases to configure, no expensive licenses to buy - just install it, point it at your music folder, and you’re streaming. This is the beauty of open-source software: it’s built by music lovers, for music lovers.
Music Tagging
Here’s where most people get stuck, and honestly, it’s the most important part. Your music collection is probably a mess of inconsistent tags, missing album art, and files with names like “track01.mp3.” Beets is the software you want for this.
Beets is like having a music librarian that never gets tired. It’ll automatically tag your music, fetch album art, organize your files, and even help you find duplicates. Yeah, there’s a learning curve, but trust me - once you’ve got beets working, you’ll wonder how you ever managed without it.
That’s it - three components, and you’ve got your own personal Spotify. Each of these deserves a deeper dive, so here are the detailed guides:
Detailed Guides
Ready to dive deeper? Here are step-by-step guides for each component:
- Hardware Setup - Complete setup, storage options, and networking
- Software Setup - Installing and configuring Navidrome and related tools
- Music Tagging - Mastering Beets for perfect music organization
You can also check out My Setup to see how it all looks in action, or browse the Archive for more detailed tutorials and tips.